November 29, 2023
How Long Does it Take to Install Grab Bars in a Shower?
Typically, installing grab bars in a shower takes anywhere from 30 minutes to 1 hour. The amount of time it takes can vary depending on the wall surface and the experience of the installer.
What does the shower grab bar installation process involve?
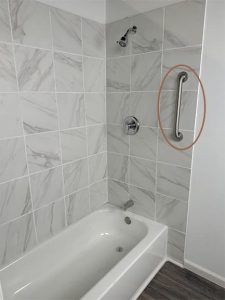
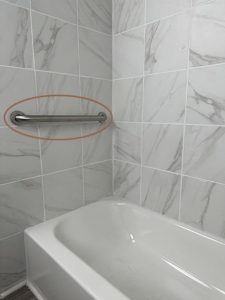
1. Choose the Right Location:
- Determine the best placement for the grab bar based on its intended use.
- Ensure the chosen location is free of obstructions and can support the bar’s weight.
2. Gather materials and tools:
- Grab bar
- Drill
- Appropriate drill bits (depending on wall material)
- Anchors or screws
- Level
- Pencil
- Measuring tape
- Caulk or sealant
3. Locate studs:
- Use a stud finder to locate the wall studs where you plan to install the grab bar.
- This is crucial for ensuring the grab bar is securely attached.
4. Mark mounting locations
- Use a level and pencil to mark the exact locations for the drill holes.
5. Drill pilot holes:
- Drill pilot holes at the marked locations using the appropriate drill bit for your wall material (wood, tile, concrete).
6. Install anchors or screws:
- Insert the anchors into the holes, if necessary, and tighten them securely.
- Screw the grab bar into the wall, ensuring it’s level and securely fastened.
7. Apply caulk or sealant around the grab bars:
- Apply a bead of caulk or silicone sealant around the base of the grab bar to prevent water damage.
Remember, the specific steps might vary depending on the type of grab bar and the material of your shower walls. Always follow the manufacturer’s instructions for the best results.


Where should I install grab bars in my shower?
Take a look at the following comprehensive placement guides for shower grab bars:
Also, take a look at the following video tutorials for shower grab bar placement:
How do I install shower grab bars onto different wall surfaces?
The method for installing a grab bar will vary depending on the material of your shower wall.
Installing on Drywall:
- Locate studs: Use a stud finder to determine where the wall studs are located. Grab bars should be secured to studs whenever possible.
- Drill pilot holes: Drill pilot holes into the wall at the marked locations.
- Insert anchors: If you cannot hit a stud, use appropriate anchors for drywall.
- Secure the grab bar: Attach the grab bar to the wall using the provided screws or anchors.
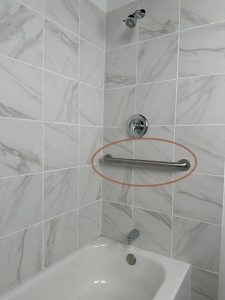
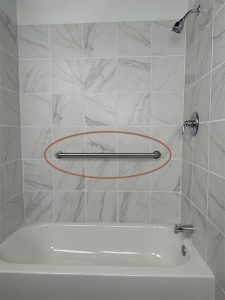
Installing on Tile:
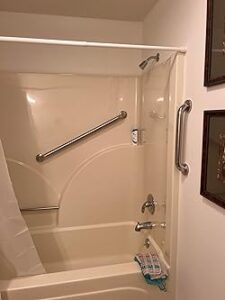
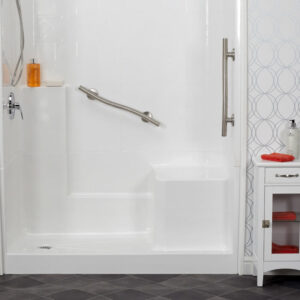
Installing on Fiberglass or Acrylic Walls:
- Avoid direct drilling: Drilling directly into fiberglass or acrylic walls can cause damage.
- Use a backing plate: These are specifically designed to distribute weight and prevent damage.
- Secure to studs: If possible, secure the backing plate to the wall studs for maximum support.
- Grab Bar Installation – Fiberglass Shower
Installing on Concrete or Masonry:
- Use a masonry drill bit: Drill into the wall using a masonry drill bit.
- Use appropriate anchors: Use anchors designed for concrete or masonry.
- Ensure proper depth: Ensure the anchors are installed to the correct depth for optimal hold.
Important Considerations:
- Always follow the manufacturer’s instructions.
- Use a level to ensure the grab bar is installed correctly.
- Consider hiring a professional for difficult installations or if you’re unsure about your abilities.
- If you are in need of a local professional installer, just fill this out: Grab Bar Installation Request Form
- Test the grab bar after installation to ensure it is secure.
- If your specific wall type required any special anchoring devices, take a look here: Grab Bar Anchoring Devices
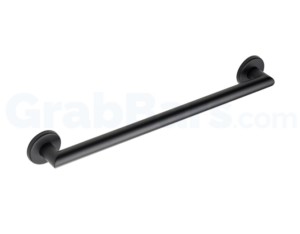
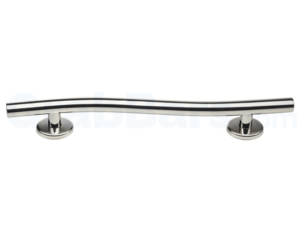
Take a look at a wide variety of shower grab bars here: Shower Grab Bars

Also, take a look at special anchoring devices, including silicone sealant, which ensure proper installation for each type of wall and surface here: Anchoring Devices
If you have any additional questions, give us a call at 704-800-4629, live chat with us on GrabBars.com or email us at [email protected] and we’ll be happy to help you out.
